From Design to Installation: Step-by-Step Guide for Deck Installation

The allure of a well-designed deck lies not only in its aesthetic appeal but also in the potential it holds for transforming your outdoor space into a haven for relaxation, entertainment, and leisure. Whether you’re an avid DIY enthusiast or seeking the expertise of professionals, this comprehensive guide aims to navigate you through the intricacies of deck installation, from the initial design phase to the finishing touches, ensuring a seamless and rewarding process.
Step 1: Planning and Design
Before embarking on the journey of constructing your dream deck, meticulous planning and thoughtful design serve as the cornerstones of a successful installation. Begin by conducting a comprehensive assessment of your needs and setting a realistic budget.
What Is a Deck Used for?
Define the purpose of your deck – whether it’s a space for entertaining guests, al fresco dining, or a tranquil retreat. Consider factors such as sun exposure, prevailing winds, and privacy when selecting the optimal location for your deck.
Determine the Size
Once the purpose and location are determined, deliberate on the size and shape of your deck, taking into account available space, budget constraints, and architectural harmony with your home. The choice of materials is pivotal; weigh the pros and cons of options like pressure-treated wood, composite decking, or tropical hardwoods based on considerations of durability, maintenance, and aesthetic preferences.
Detailed Design
Create a detailed design that encompasses dimensions, elevation changes, and structural elements. Don’t overlook features such as railings, stairs, and additional amenities like built-in seating, as they play a crucial role in the functionality and visual appeal of your deck.
Get the Necessary Permits
With your design in hand, navigate the bureaucratic landscape by obtaining the necessary permits from your local building department, ensuring adherence to stringent regulations.
Step 2: Gathering Materials and Tools
Armed with a well-thought-out design, the next phase involves gathering the requisite materials and tools essential for a smooth and efficient construction process. Develop a comprehensive list that includes decking boards, joists, beams, concrete or helical footings, fasteners (screws, nails, bolts), ledger boards, flashing, post anchors, caps, railings, and balusters.
Get the Right Tools
Equip yourself with the right tools for the job, encompassing a circular saw, power drill, level, tape measure, chalk line, shovel, post-hole digger, and framing square. Ensuring you have the appropriate materials and tools at your disposal sets the stage for a successful and stress-free installation.
Step 3: Site Preparation
The construction site acts as the canvas for your outdoor masterpiece, and adequate preparation is vital for a solid foundation. Begin by marking and laying out the deck’s perimeter using stakes and string, ensuring that the layout accurately reflects your design and maintains a square configuration.
Ensure Stability
Execute precision in excavation, and digging post holes by local building code requirements. To fortify your deck’s stability, introduce concrete footings or opt for helical footings, tailoring the choice to your specific needs and the demands of your local environment.
Step 4: Framing
The framing phase is the architectural backbone of your deck, providing essential support for the impending decking boards. Initiate the process by affixing the ledger board to the house, ensuring a level alignment and proper flashing. Forge a secure connection between the ledger board and the house’s rim joist using lag screws.
Secure the Posts
As you set and level the beams atop the footings, employ appropriate hardware to secure them to the posts. For the joists, adhere to the specified spacing outlined in your design, attaching them to the beams with hangers or brackets for added stability.
Step 5: Decking Installation
Transitioning from the structural foundation to the visible allure of your deck, the decking installation phase brings your vision to life. Commence with a meticulously planned layout, maintaining parallelism to the house for a professional aesthetic. Ensure a uniform gap between boards to facilitate water drainage and employ screws or nails for secure fastening.
Prepare the Perimeter
Give due attention to the perimeter by expertly trimming the decking boards to fit, utilizing a circular saw for precise and clean cuts. This step enhances the visual cohesiveness of your deck and paves the way for a polished finish.
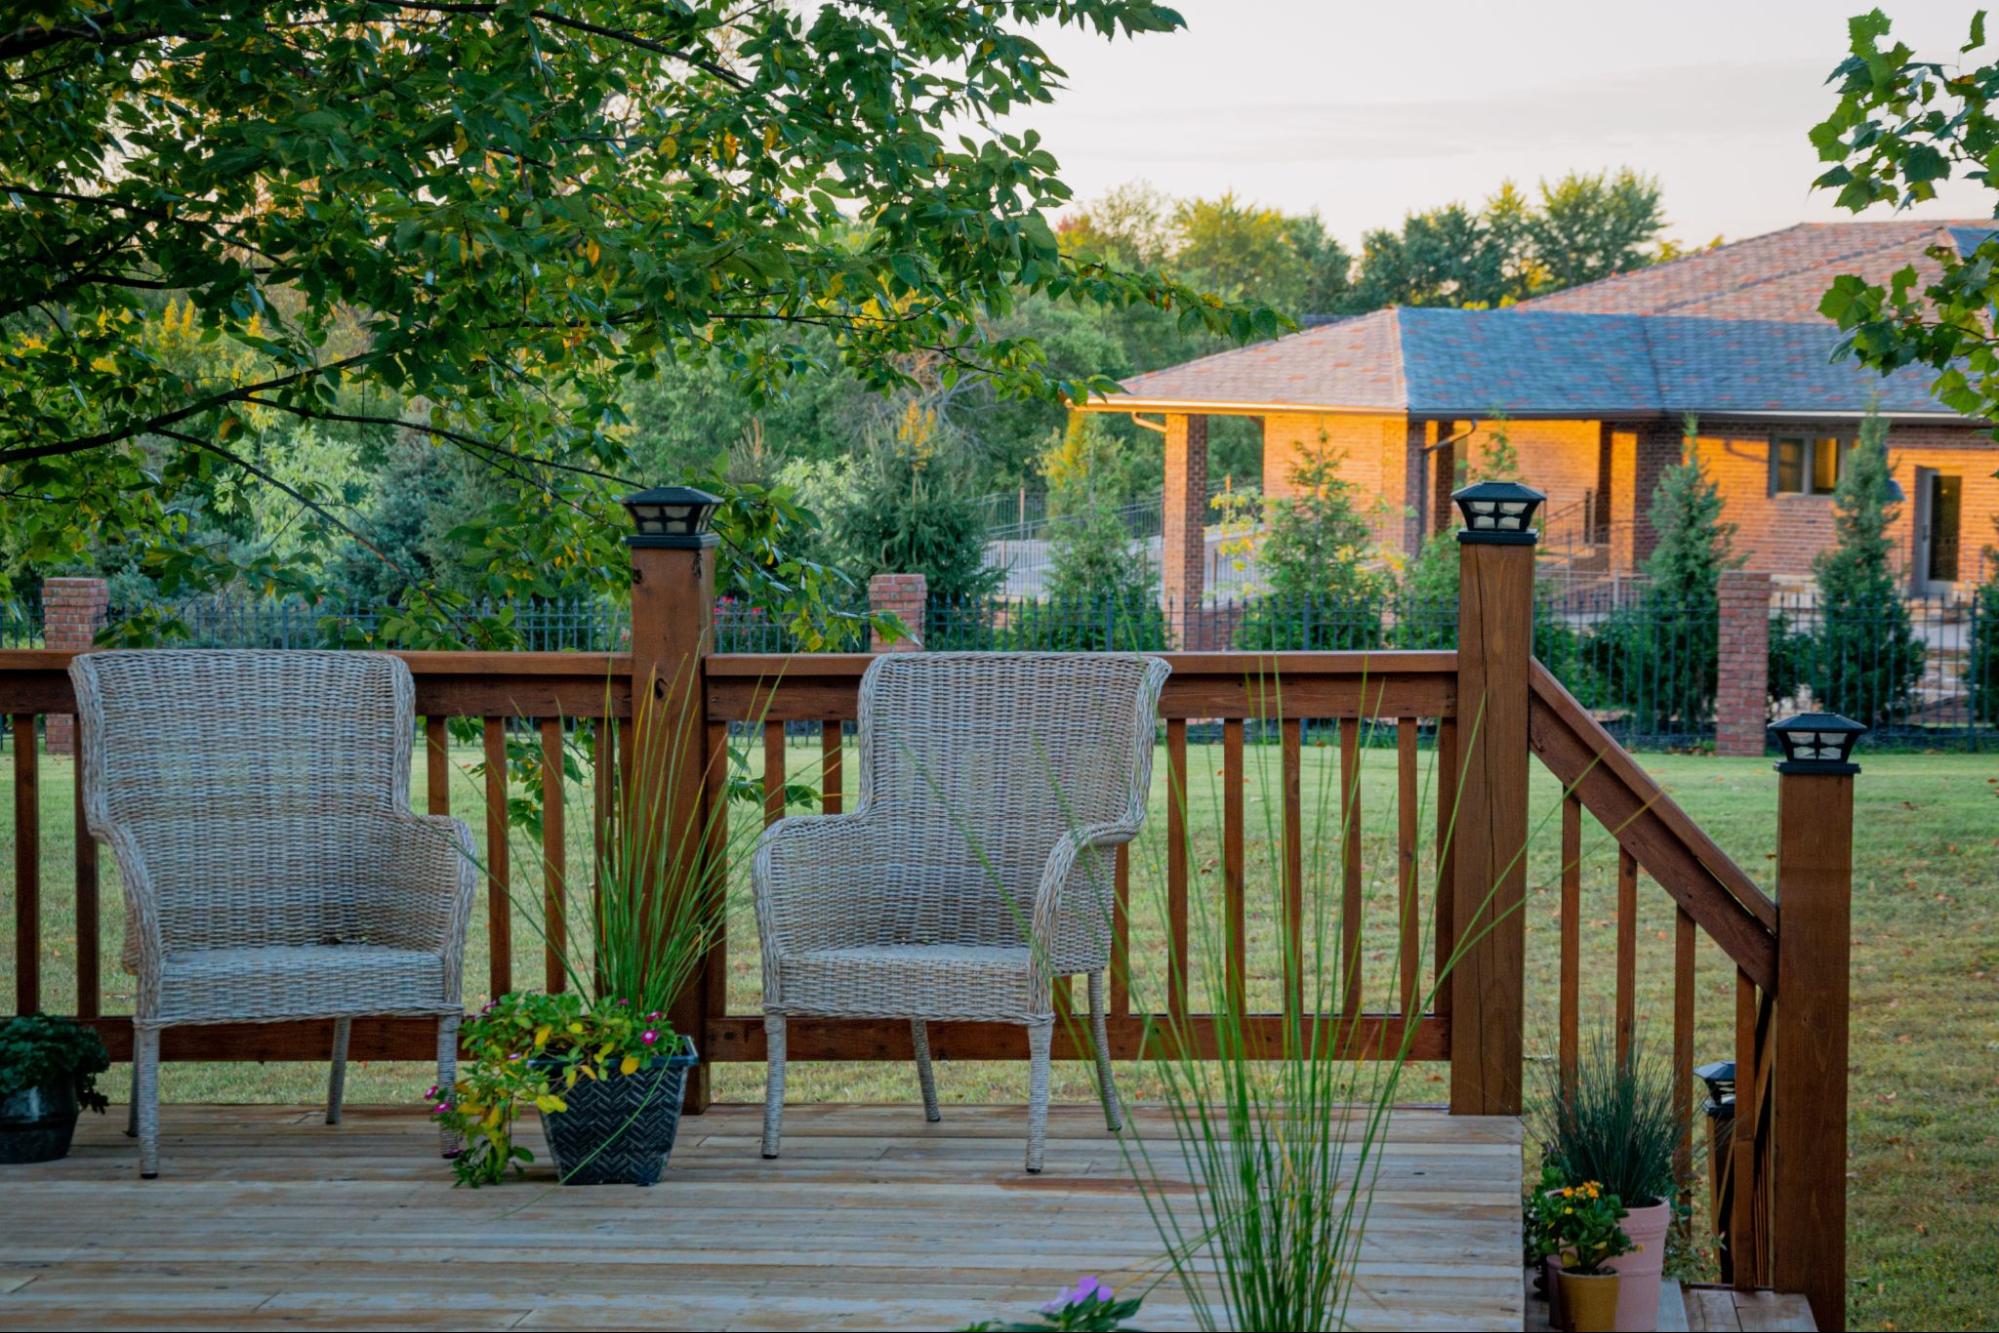
Step 6: Railings and Balusters
Safety and aesthetics converge in the installation of railings and balusters. Begin by affixing sturdy posts at strategic corners and intervals along the deck perimeter, securing them with appropriate hardware, and ensuring plumb alignment. Introduce top and bottom rails to create a framing structure for the balusters.
Make Sure Rails Are Level
Precision is key in confirming that the rails are both level and securely attached. Subsequently, insert balusters between the top and bottom rails, adhering to local building codes regarding spacing and height requirements. This phase adds a finishing touch while ensuring the safety of your deck users.
Step 7: Stairs and Landings
For decks featuring changes in elevation or multi-tiered designs, stairs and landings become integral components. Strategically plan the location of stairs, considering accessibility and design aesthetics. Construct stair stringers – either custom-made using treated lumber or pre-cut stringer kits for efficiency.
Secure Access Point
Attach the stringers securely to the deck frame using appropriate hardware, then introduce treads and risers to complete the staircase. Incorporate landings where turns or elevation changes occur, ensuring these are not only aesthetically integrated but also securely attached to the deck structure. This meticulous approach guarantees the creation of a safe and functional access point to your deck.
Step 8: Finishing Touches
With the structural elements in place, the final phase involves adding the finishing touches that elevate your deck from functional to extraordinary. Begin by sanding the deck surface to eliminate any rough spots, contributing to a smooth and comfortable outdoor experience. Apply a weather-resistant sealant to protect the wood from the elements, extending the lifespan of your deck.
Enhance Visual Appeal
Enhance visual appeal and safeguard exposed post ends by installing post caps, and choosing styles that compliment your deck’s overall design. Transition your deck from a construction project to a personalized outdoor sanctuary by furnishing it with suitable outdoor furniture and accessories. Consider additions like planters, lighting fixtures, and outdoor rugs for an extra layer of comfort and style.
Maintain Properly
To ensure the longevity of your investment, establish a routine maintenance schedule. Regular cleaning and inspections will enable you to identify and address any issues promptly, preserving the integrity and beauty of your deck for years to come.
Empowering Homeowners in Their Deck Building Efforts
From the initial spark of inspiration to the final flourish of finishing touches, this comprehensive guide aims to empower homeowners and DIY enthusiasts with the knowledge and guidance necessary for a successful deck installation. Whether you choose to embark on this journey independently or enlist the assistance of professionals, a well-designed and properly installed deck promises to become a cherished extension of your home – a space where memories are forged, and relaxation becomes an art form.

Learn More About Decks Today
By following these meticulous steps, you can confidently embark on the endeavor of creating a functional and aesthetically pleasing outdoor space that seamlessly integrates with your lifestyle.
For more information about deck installations, visit our Saddleback Fence & Vinyl Products blog today.